
WD (HGST) JBOD Disk Carrier Removal
Overview
If you have a WD (formerly HGST) Ultrastar Data60 or Ultrastar Data102 there may come a time when you want to remove a drive carrier. Below are some tips and images to assist in doing that.
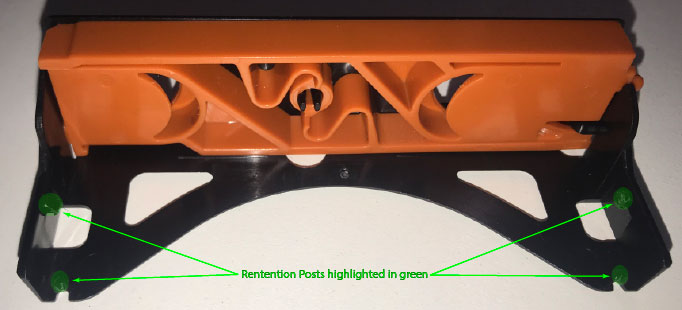
The drive carrier for the Ultrastar Data60/102 JBODs are plastic snap-on carriers. The carrier secures to the disk drive by way of four molded pegs that snap fit into two holes on the drive’s side and two holes on the drive’s underside.
Note: By attempting to perform this you are taking responsibility for and assuming the risk of damaging the plastic carrier by snapping the molded pegs off of the bracket.
Below are some photographs with green highlighting to show important things to take note of.
Step 1 – Bracket design.
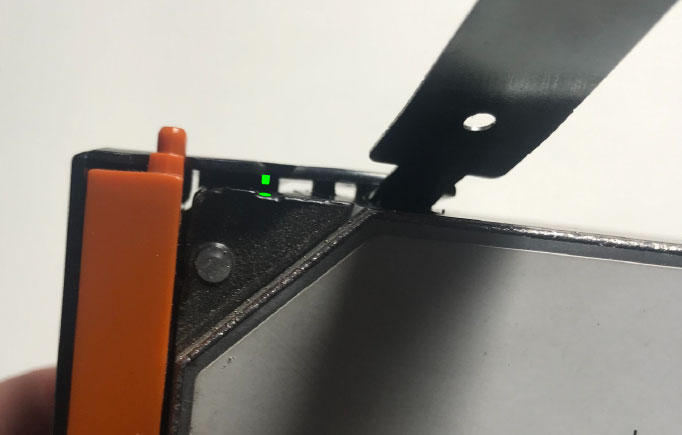
As mentioned earlier the bracket is an injection molded plastic part. Care should be taken not to apply too much force in removing the bracket from the drive. The green areas denote the location of the molded pegs that fit into the mounting holes on the disk drive.
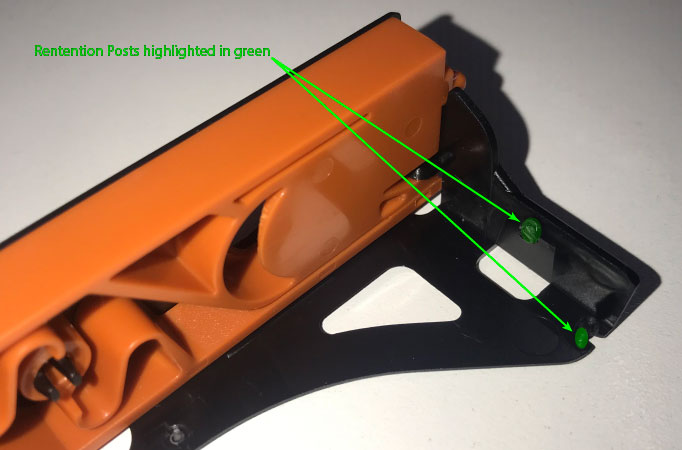
Notice the mounting peg fit into the side mounting hole of the drive.
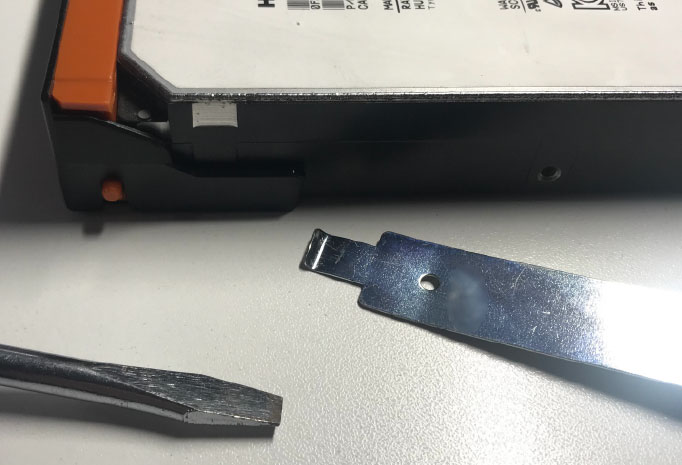
Step 2 – Tools
You can use a flat tip (or slotted) screwdriver, or a system rack cage nut removal tool found in the accessory kit of many server racks. The cage nut tool is thinner and easier to use.
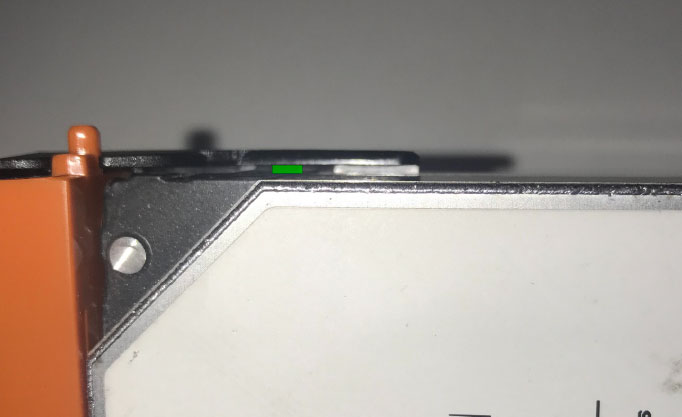
Step 3 – Work the side
Slide the cage nut tool or screwdriver tip into the gap between the drive side and the bracket. Pry the bracket outward to pull the mounting peg out of the screw hole of the drive.
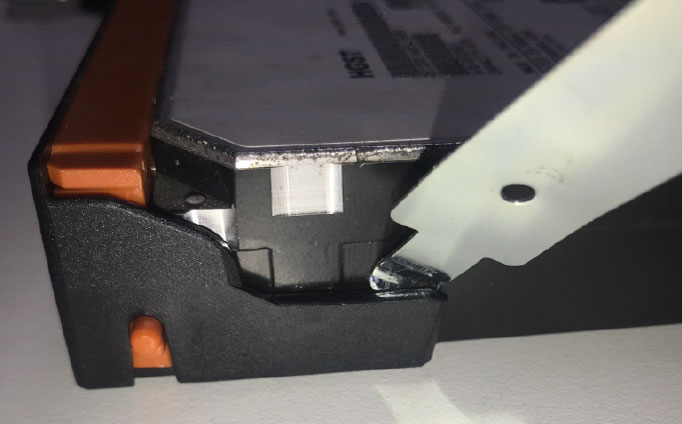
As you carefully flex the bracket outward you will see the mounting peg come out of the drive’s side mounting hole.
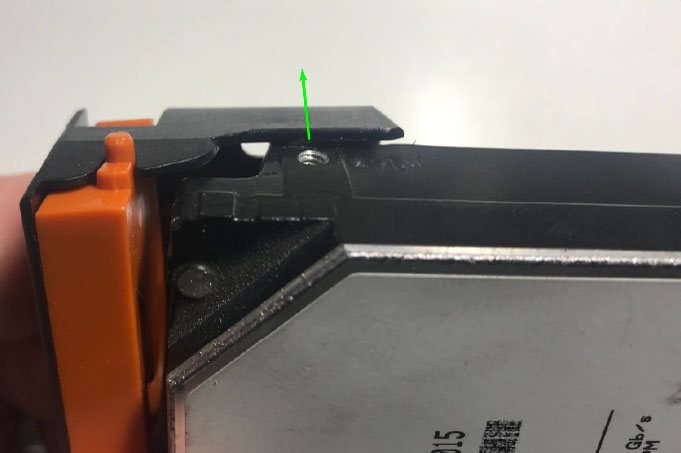
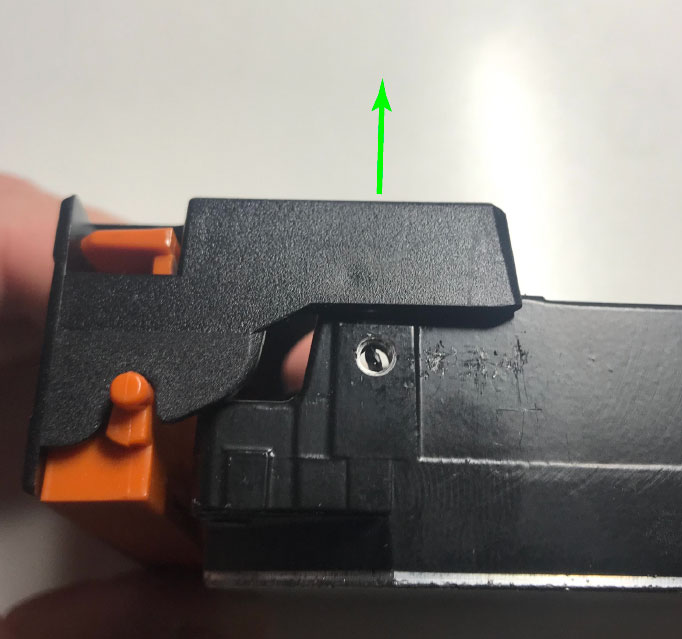
Step 4 – Push downward toward bottom of disk drive
Once the mounting peg clears the disk drive’s side hole, push the bracket downward toward the bottom of the disk drive. This will allow the side mounting peg to clear the disk drive’s side hole while backing the bottom peg out of the disk drives underside hole.
Step 5 – Repeat for the opposite side of the disk drive bracket
Once one side has been separated from the disk drive there will be less tension on the remaining side and you can repeat Step 3 for the remaining side and the bracket should slip off.

Step 6- Profit.
Inspect the bracket. If you were able to remove the bracket without breaking the mounting pegs then the bracket can be re-used on a replacement disk drive.
